Scroll to discover the recipes for Patissiere Doux‘s famous sugar cookies, donuts and focaccia!
Simple Sugar Cookies
Yield: 3 dozen 2 ½ inch cookies

Ingredients:
3 cups all-purpose flour (450g)
¾ teaspoon baking powder (3g)
1 teaspoon salt (5g)
1 cup unsalted butter, softened (227g)
1 cup sugar (200g)
1 egg, beaten
3 tablespoon milk (45ml)
Instructions:
- Sift together flour, salt and baking powder, then set aside.
- Place the butter and sugar in the bowl of your electric stand mixer (if you don’t have a stand mixer, you can place it in a large bowl and beat it with a handheld beater). Beat until pale and fluffy for approximately 10 minutes on a medium speed. Always make sure to scrape down your bowl.
- Add the milk and egg into the bowl and beat until it is well combined. Make sure to scrape your bowl to ensure everything is evenly mixed.
- Turn your mixer on low speed and gradually spoon in the flour. Combine until the dough pulls away from the side of the bowl.
- Divide the dough into three portions, wrap in saran wrap and refrigerate for 15- 20 minutes.
- Preheat your oven to 350F/176C.
- Sprinkle your work surface with flour. Remove one wrapped pack of dough from the refrigerator at a time. You don’t want your dough to get too warm.
- Roll out your dough so that it’s a ¼ inch thick. Move the dough around to ensure it doesn’t stick to the surface.
- If the dough is warming, place it back in the fridge before cutting out your cookies.
- Cut your desired shape and place on a baking sheet lined with parchment paper or a silicone baking mat. Make sure to leave at least a one-inch space between the cookies, giving them a little room in case they spread.
- Let the cookies bake for between 9-15 minutes. Cooking time will vary depending on the heat distribution of your oven.
- Bake until the cookies start to brown around the edges. Once they are out of the oven, let them cool on the baking sheet for 5 minutes.
- Serve as is or ice them as desired. The cookies can be stored in an airtight container for up to one week.
Royal Icing
Yield: 3 dozen cookies
Ingredients:
3 cups powdered sugar/confectioner’s sugar (450g)
3 teaspoon meringue powder (15g)
6 tablespoon water (90 ml)
*A little bit of water goes a long way! You will need more or less water depending on the consistency of the icing.
Instructions:
- Sift the confectioner’s sugar and meringue powder directly into the bowl of your stand mixer, then add in your water.
- Start to mix on a slow speed til everything is combined. Add more water if needed.
- Let your mixer stir on a medium speed – you will see the colour of your royal icing change to a bright white.
- After about 5 minutes, your icing should be ready to use. Add it to a piping bag and you’re good to go!
Easy Stovetop Donuts
Yield: 1 dozen donuts

Ingredients:
290g all-purpose flour
40g granulated sugar
½ teaspoon salt
¼ teaspoon nutmeg (optional)
1 egg, beaten
135g tablespoon milk, warmed*
40g melted butter
7g dry yeast (1 packet)
Instructions:
- In the bowl of your stand mixer, add your flour, nutmeg, sugar and salt. Set the ingredients aside.
- In another bowl, add your warmed milk, egg, melted butter and yeast. Give this a stir.
- Add the wet mixture into the bowl of your stand mixer along with the dry ingredients. Mix your dough on high for 3 minutes.
- Transfer your dough into a lightly greased bowl. Cover it well using plastic wrap.
- Let the dough rise in a warm place for 2 hours so it doubles in size.
- Sprinkle a light dusting of flour on your work surface and roll it out to about ½ inch thickness. You can use a large 3.5-inch cookie cutter and a small 1.5-inch cookie cutter to punch out the middle. Then, re-roll your dough a second time.
- Place your donuts on a parchment lined baking tray with one-inch gaps between them. Let them rest again for about 20 to 30 minutes.
- Heat your oil in a heavy bottomed pan until it hits 330F/160C.
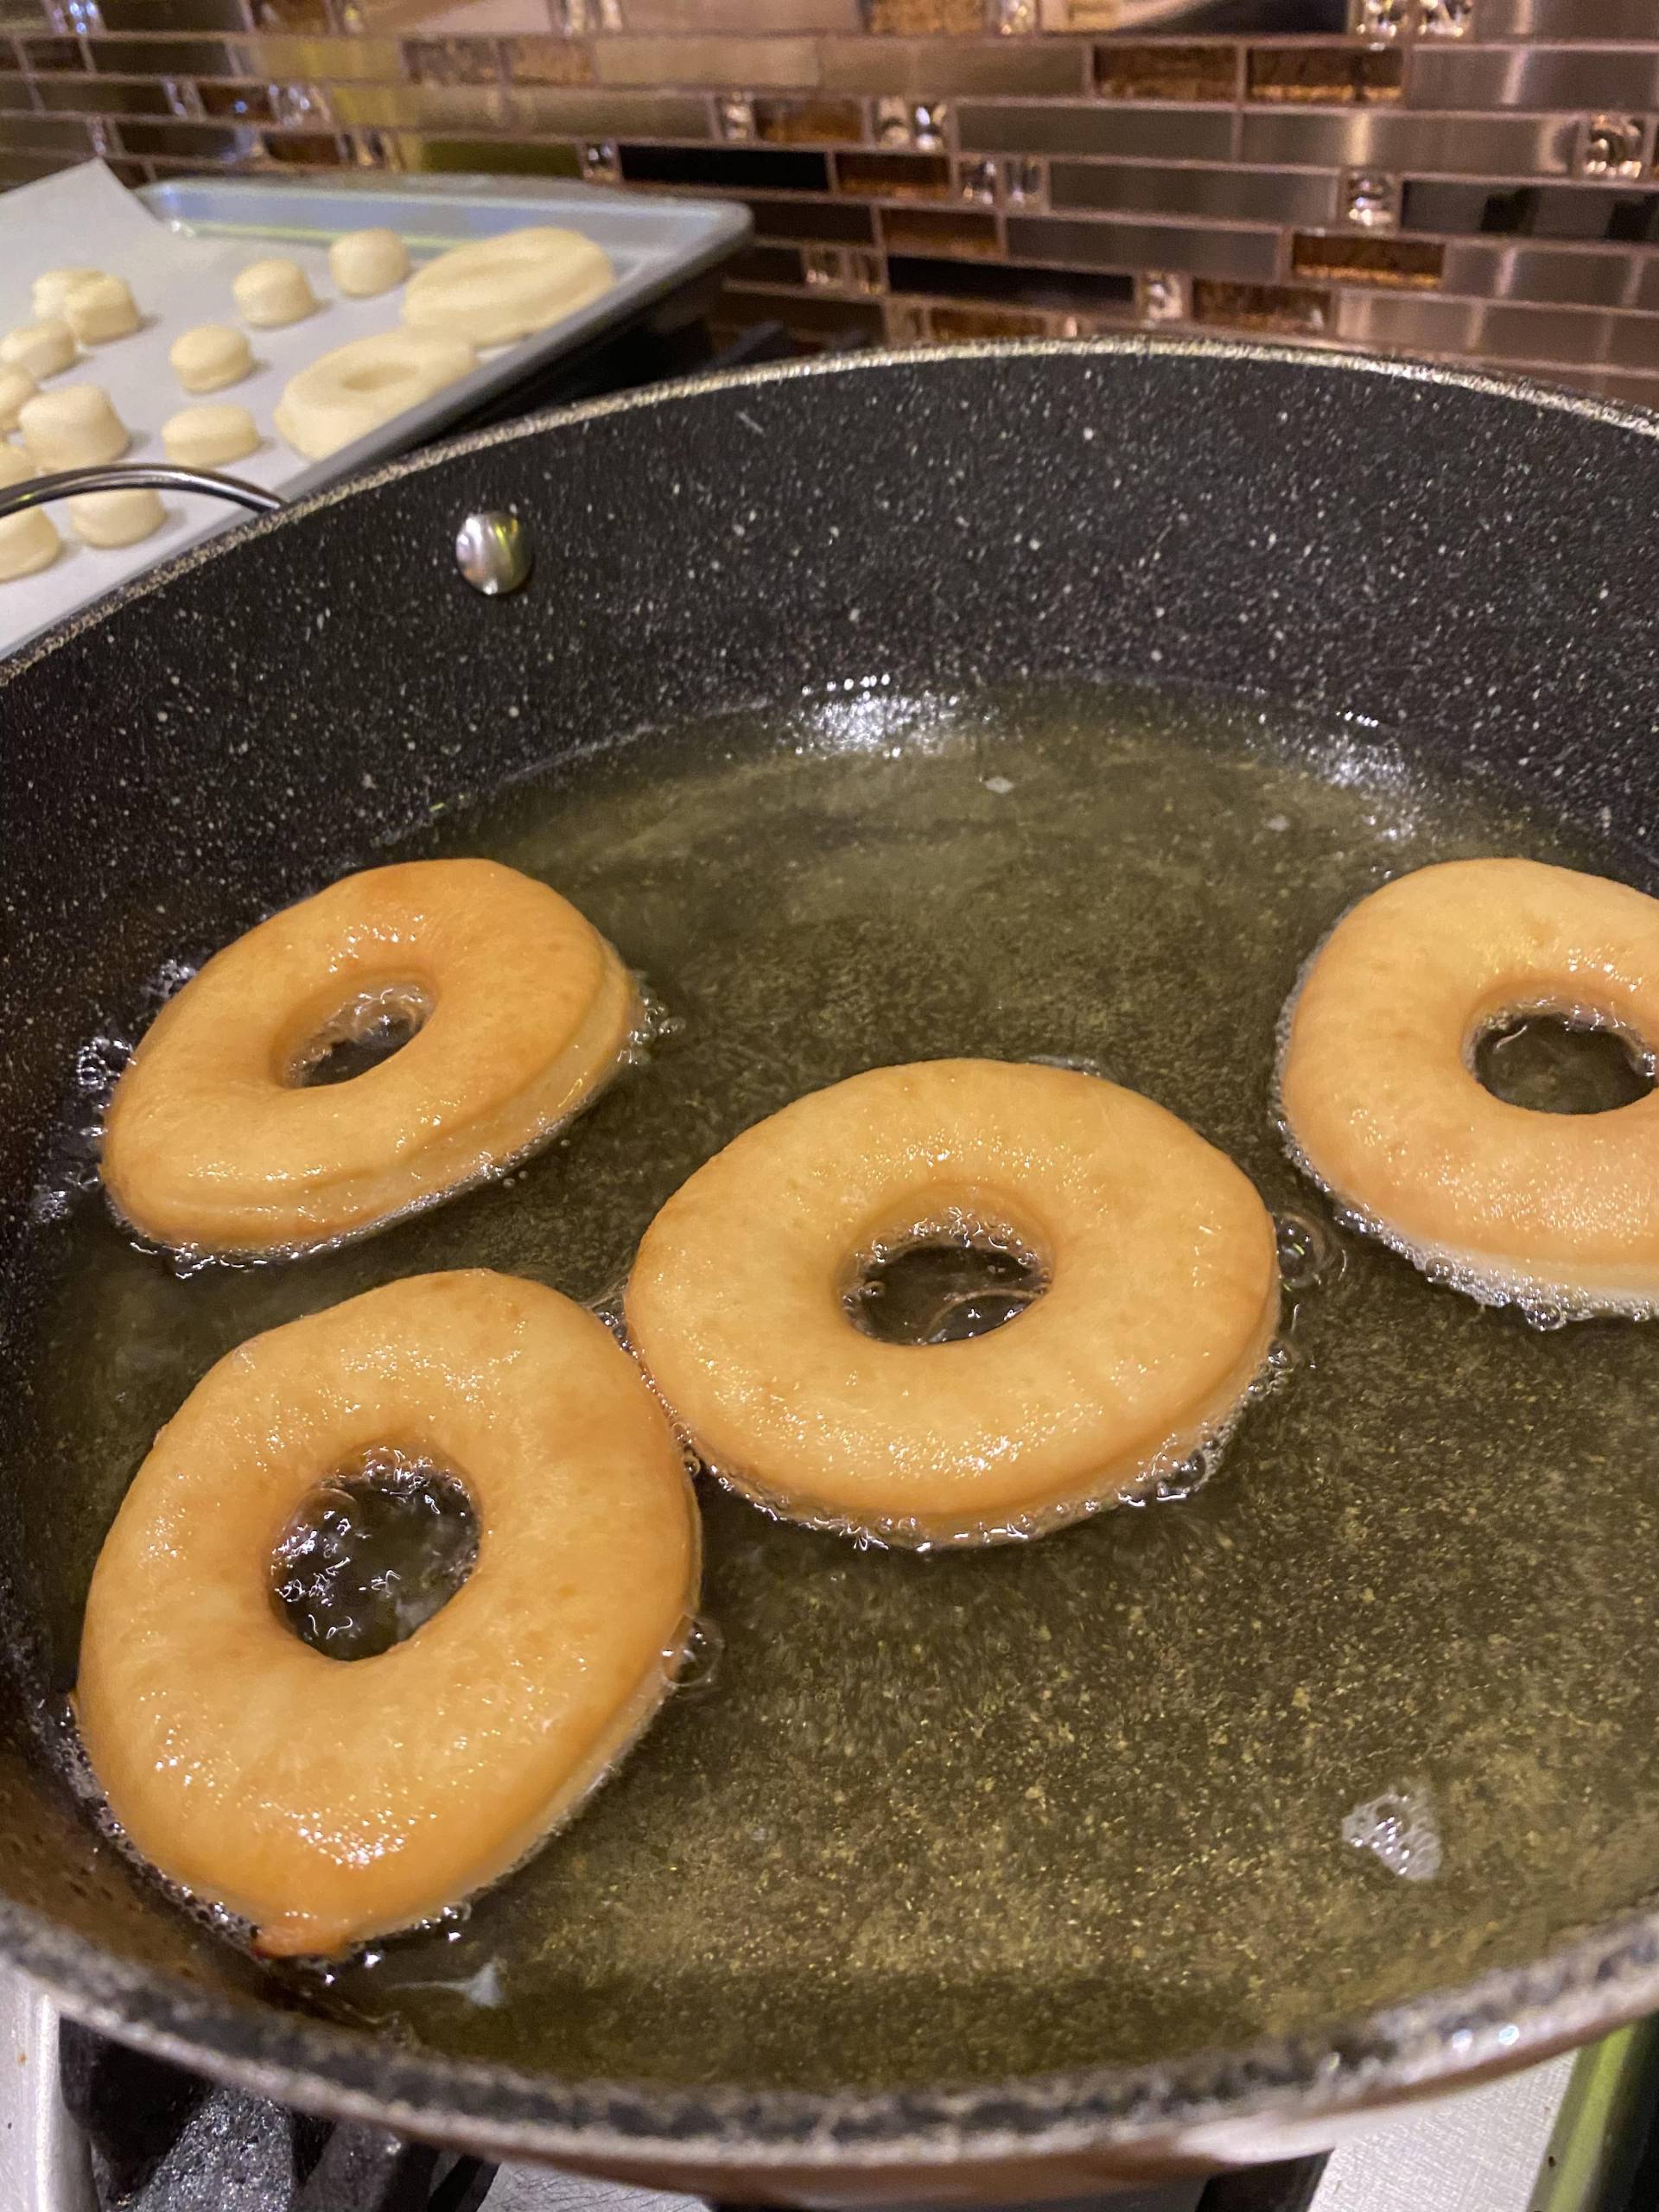
- Place the donuts in the oil. Don’t overcrowd the pan – try 3 to 4 donuts at a time, making sure the oil is bubbling around them. Cook on both sides until they are golden brown.
- Set the donuts to cool on a wire rack. At this point, glaze them or eat them as is.
*Every flour absorbs milk differently, so you may need a few extra tablespoons.
Donut Glaze
Ingredients:
250g (2 cups) powdered sugar/confectioners’ sugar
75g butter, melted
3-5 tablespoons of milk (adjust the amount for a thinner or thicker glaze)
1 teaspoon of vanilla extract
Instructions:
- Mix all the ingredients in a bowl.
- Coat the donuts in the glaze.
- Place the donuts on a wire rack and let the excess glaze drip off.
Oven Rack Focaccia
Yield: 2 medium trays

Ingredients (pre-ferment for the focaccia):
200g all-purpose flour
200g water
2g dry yeast
Instructions:
- Mix all of the ingredients together and let the mixture ferment in the refrigerator overnight.
Ingredients (focaccia):
1000g all-purpose flour
20g fine salt
4g dry yeast
640g water #1
400 gr pre-ferment (from the fridge)
100g water #2
70g extra virgin olive oil
7g Italian seasoning
124g all-purpose flour
105g stuffed olives, sliced (approximately 16 go into the dough)
110g stuffed olives, sliced (approximately 17 can be used as garnish for the next day)
Instructions:
- Pour water #1 into the bowl of your stand mixer, add the yeast, pre-ferment, flour and salt.
- Knead all of the ingredients at a slower speed for 7 minutes, then for 8 minutes at a faster speed until you can stretch the dough without ripping it.
- Add the Italian seasoning into the olive oil.
- Start to stream the olive oil into the bowl at a medium speed.
- Once the oil is fully incorporated, add water #2 on a faster speed.
- At this point, add the sliced olives into the dough.
- Remove the dough from your mixer and let it bulk ferment overnight.
The next day:
- Let the dough come back to room temperature (it should be ready after about 2 hours).
- Weigh out the dough out and split it in half.
- Grease your baking tray and line it with a piece of parchment paper.
- Roll out the dough to fit the size of the pan or use your hands to stretch it. Leave it at room temperature for an hour.
- Preheat your oven to 350C.
- Drizzle with olive oil and add your second batch of olives (for garnish), salt and fresh cracked pepper.
- Bake for anywhere between 25 to 40 minutes (time will vary based on your oven’s heat distribution.
- Once your bread is golden brown and hollow when you tap it, it’s ready. Let it cool down for 10 minutes before you cut it and enjoy.


