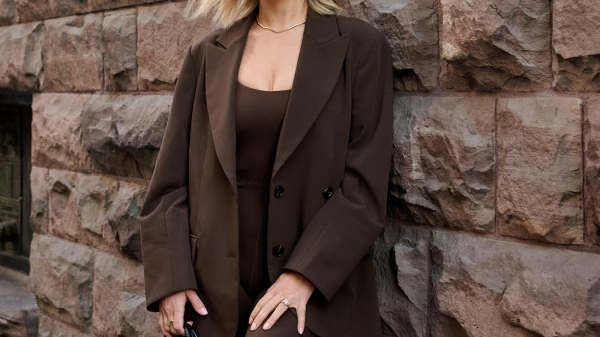
Tania Tonello is a fashion stylist, personal shopper, and regular contributor to STYLE Canada based in Downtown Toronto. On #WardrobeWednesdays, she gives you fun yet practical tips and tricks to mastering the art of dressing and expressing yourself in a functional, economical and more sustainable way. You can read her last instalment here.
Looking for a fun and easy fashion DIY that you have all the tools for? Join me as I hop on the tie-dye train! This trend isn’t going away anytime soon.
https://www.instagram.com/p/By2q2L1pMI9/
With multiple tie-dye pieces in my wardrobe, I had yet to achieve the look on my own. There’s no shortage of instructional videos out there, so I watched a few to compare techniques, then jumped in.
Here’s What You Need:
1) A Textile
Natural fibres like cotton and linen will give you the best results. Of course, you’ll want to ensure that you’re using a wardrobe piece that you wouldn’t mind losing. There are no guarantees with how tie-dye will turn out, so don’t experiment with pieces of great value.
2) Household Bleach
Since bleach is a corrosive that can burn or irritate your skin, eyes and respiratory tract, safety is the most important factor when executing this DIY. For maximum safety, work in a well ventilated area with gloves, a mask, and goggles. I opted for the outdoors where it was safe to go without a mask.
3) Water
The majority of instructional videos and articles I read suggested mixing one part bleach to one part water. I used cool temperature water, mixing one cup of each.
4) Squeeze Or Spray Bottle
Depending on the style of tie-dye you’re looking to achieve, using a squeeze or spray bottle will yield different results. I had neither on hand, so I converted a carbonated water bottle into a squeeze bottle by puncturing a tiny hole in the bottle cap.
5) Gloves
Wear rubber or nitrile gloves to protect your hands and forearms when using household bleach.
6) Rubber Bands
When preparing your textile for the bleaching process, rubber bands are the best tool to use. Depending on the design you’re going for, have four to six bands on hand.
7) Safe Surface
Set up shop on a surface that can withstand bleach damage. I used a wooden board as a base and covered it with a garbage bag.

Photo: Sharon McCutcheon via Unsplash.
Now that you’re all set with the proper equipment and tools, it’s time for the fun to begin! There are several tie-dye techniques using coloured dyes, but I attempted a simple process using one ingredient: bleach.
10 Steps To Tie-Dye:
1. Lay your textile on a flat surface. Some suggest dampening your textile with water prior to bleaching, but I chose not to for my first attempt. I’ll see if it makes a difference next time around.
2. Pinch the middle of the textile and begin scrunching it in a circular motion. (Think of a cinnamon bun as the desired post-scrunch effect!)
3. Secure the scrunched textile with rubber bands, creating even segments. Depending on the size of your garment, six to eight segments is preferred.
4. Tuck any loose ends underneath the rubber bands and adjust them so the triangular segments are even.
5. Apply PPE (gloves, mask, goggles) and use a spray or squeeze bottle to apply the bleach and water mixture to every second segment.
6. Turn the banded textile upside down and apply the bleach mix to the same segments.
7. Let the piece sit for eight to ten minutes. I didn’t see a significant colour change (perhaps because I used a dry textile versus a damp one) during that time, so I let mine sit for approximately 15 minutes. Depending on the fabric’s delicacy, letting your textile sit in the bleach mixture for too long can ruin it so please be cautious during this step.
8. Remove the rubber bands and rinse the textile in cold water for a few minutes. I added a cup of white vinegar and a fourth cup of salt to a gallon of water to help lock the colour into the fabric.
9. Wash the textile by hand or in a machine with regular detergent and cold water, then use a dryer or hang to dry.
10. Enjoy your original tie-dye piece!
https://www.instagram.com/tv/CB0gJVrpID8/?utm_source=ig_web_copy_link
Canadian Tie-Dye
Want to join the tie-dye club without putting in the DIY effort? There are plenty of options for you to get on board.
Support Canadian designers and check out DAME: a sustainable custom tie-dye brand by our Brand and Social Media Manager, Lucie Mink:
https://www.instagram.com/p/B47fgPMh9d5/
Another beautiful, Canadian and ethically-minded line comes from DAUB, which focuses on hand-dyed activewear:
https://www.instagram.com/p/CAv1wZthU7J/
Show And Tell
We want to see your favourite tie-dye looks! Whether you DIYed them yourself or found them at a vintage shop, tag us in your Instagram posts @style_canada and share your inspo.


You must be logged in to post a comment Login